Adding images to your blog posts
Learn how to add a featured image below
Adding images to your pages and blogs
A picture is worth a thousand words so it is good for your blogs to have a least one image.
To add an image to a page or blog post:
- Go to the post or page (in Edit mode)
- Above the content there is a button called Add Media (this is for adding your own images) and a second for Instant Images (this is for adding images from Unsplash, Pixabay & Pexels which are free libraries.) These images are perfect for featured images for blog posts.
.png?width=226&name=page-images%20(2).png)
- When adding your own media this knowledge base article will he helpful -
Media Library - Add & Manage Images
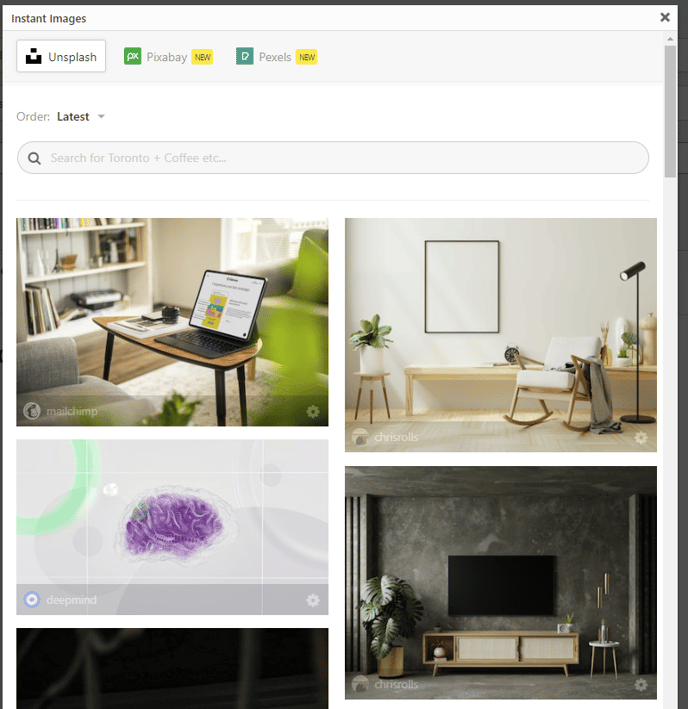
- When adding images from Instant Images (Unsplash, Pixabay & Pexels) you will see a popup dialog box that will allow you to select the image you wish to use. You can use the search bar in the top right to search for images you wish to add eg calculator, mountains etc

- To add an image to your site, just click on it and it will start downloading.
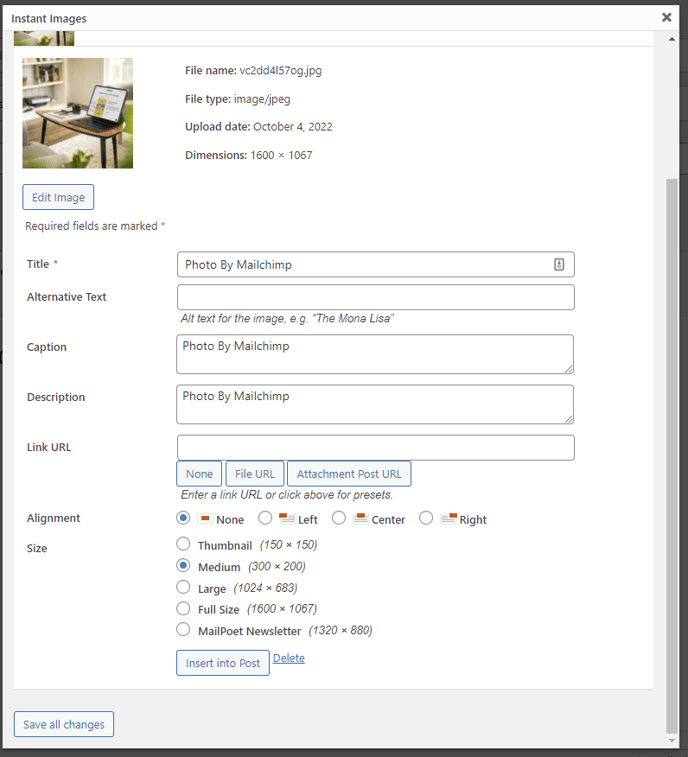
- You will see a second popup that will allow you to change the images title and caption and select the size of the image - for sizing guidelines view the section below.
- If you don't wish to have a title, caption or description it is fine if these are left blank
- We recommend adding a short description to the alternative text section, this will help with SEO and also make your site more usable for people who use text-to-speech applications.

- After making your changes select Insert into Post and the image will be added to your post or page that you are working on.
- Don't worry if you made a mistake here any options can be change later while editing the post or page.
Featured Images
Your blog posts will have more impact with images and Bizink website designs have a dedicated section for preview & featured images.
To set a featured image:
- Go to your blog post page (in edit mode).
- Scroll down to "featured image" on the right side of the edit screen
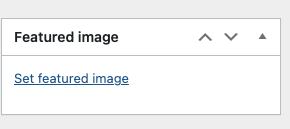
- If no image is visible there, click "Set featured image" (see screenshot below)

- Clicking this will load your website's Media Library.
- If you have an image in mind that's already in your library you can select it here.
- If you have a new image that you'd like to upload, you can drag and drop it onto this screen (or click the Upload files button).
- Alternatively, you can source a new image from our Instant Images integration. This gives you access to millions of free images from Unsplash, Pixabay and Pexels libraries.
- To source a featured image from Instant Images:
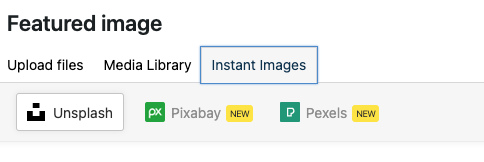
- Click the Instant Images tab while on the featured image screen (see screenshot below)

- Select the library you want (Unsplash, Pixabay or Pexels) and then search for a keyword (eg business)
- Click the image you want and this will instantly pull it into your media library.
- You can change the title, caption, description and alt text on the right hand side if you wish.
- Click the blue Set featured image button to finish.
- Click the Instant Images tab while on the featured image screen (see screenshot below)
Sizing images
When preparing images for blog posts, ensure they are about 640px wide. Avoid making them too big as this can slow down the upload speed. We also recommend a landscape image, where the main subject is in the centre or close to it. This is because the Featured Image is automatically resized for different areas of your site. It is also recommend that the image doesn't include text as it can appear cut off.
You don't need Photoshop to resize images. Try these alternatives.
- Shutterstock (see below) - includes a custom sizing option before you download images
- Gimp - www.gimp.org - similar to Photoshop but free
- Microsoft Photos for Windows - Available built into windows 10
- Apple Preview - Available built into Mac OS
Sourcing images
Instant Images
Your website is linked to a library of images you can use at no charge. Simply click the 'Instant Images' button above the edit screen on any blog post or page to select and insert an image. This gives you access to Pixabay, Unsplash and Pexels for free.
Instant Images replaced Pixabay for Bizink clients in September 2022.
Alternatively we recommend:
- shutterstock.com (pay per image or subscription)
- iStockphoto.com (pay per image or subscription)
- gettyimages.com (pay per image or subscription)