- Knowledge base
- Website
- Collect information
-
Getting Started with Bizink
-
Website
- Get started
- Share content via blogs
- Share Information via Pages
- Engage with your clients
- Showcase your Service Packages
- Showcase testimonials
- Showcase your team
- Collect information
- Generate Referrals
- Resources & Partner Resources
- Media Library
- Use your website Email Marketing platform
- Update your website design
- Bizink Support
- Integrations
-
Client Hub
-
BizPress
-
Onboarding Hub
-
Email Marketing
-
Search Engine Optimisation (SEO)
-
Marketing
-
Webinars & Podcasts
-
FAQs
-
Current service status
Create a form and add the form to a page
Our forms module can be used for a range of purposes. For example, you can create a survey, add a form to capture referrals, capture new client information in an onboarding form, take client feedback/testimonials and much more. You can also add features for file upload, dropdowns, multiselect options etc...
We do suggest you have a play around with the Forms module to familiarise yourself with what you can do.
To create a form, follow these steps:
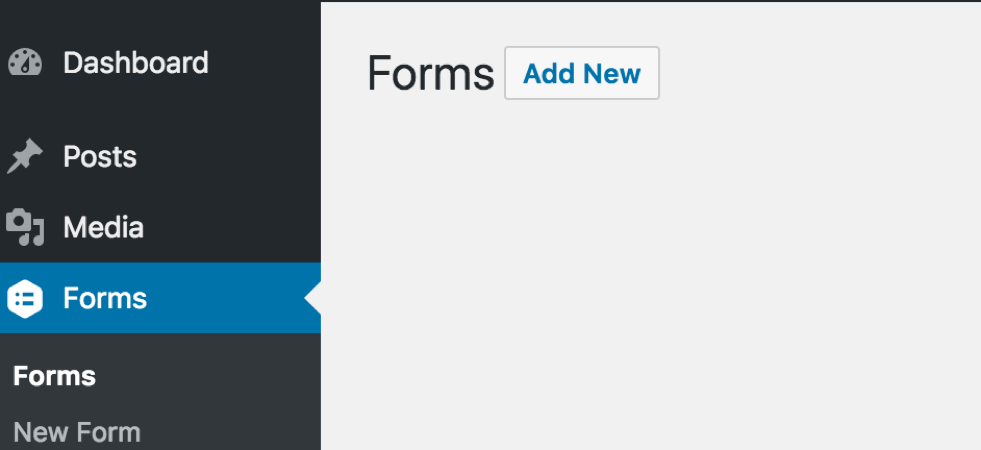
1. Go to "Forms" and click on "Add New"
![](https://support.bizinkonline.com/hubfs/Knowledge%20Base%20Import/bizink.zendesk.comhcarticle_attachments360000904536Picture1.png)
2. Name your form (description is optional) and click on "Create Form"
![](https://support.bizinkonline.com/hubfs/Knowledge%20Base%20Import/bizink.zendesk.comhcarticle_attachments360000909315Screen_Shot_2018-08-23_at_10.42.11_AM.png)
3. You will be taken to a working environment where you can create your form. There's also a step by step guide on how to create it.
![](https://support.bizinkonline.com/hubfs/Knowledge%20Base%20Import/bizink.zendesk.comhcarticle_attachments360000904556Screen_Shot_2018-08-23_at_10.43.31_AM.png)
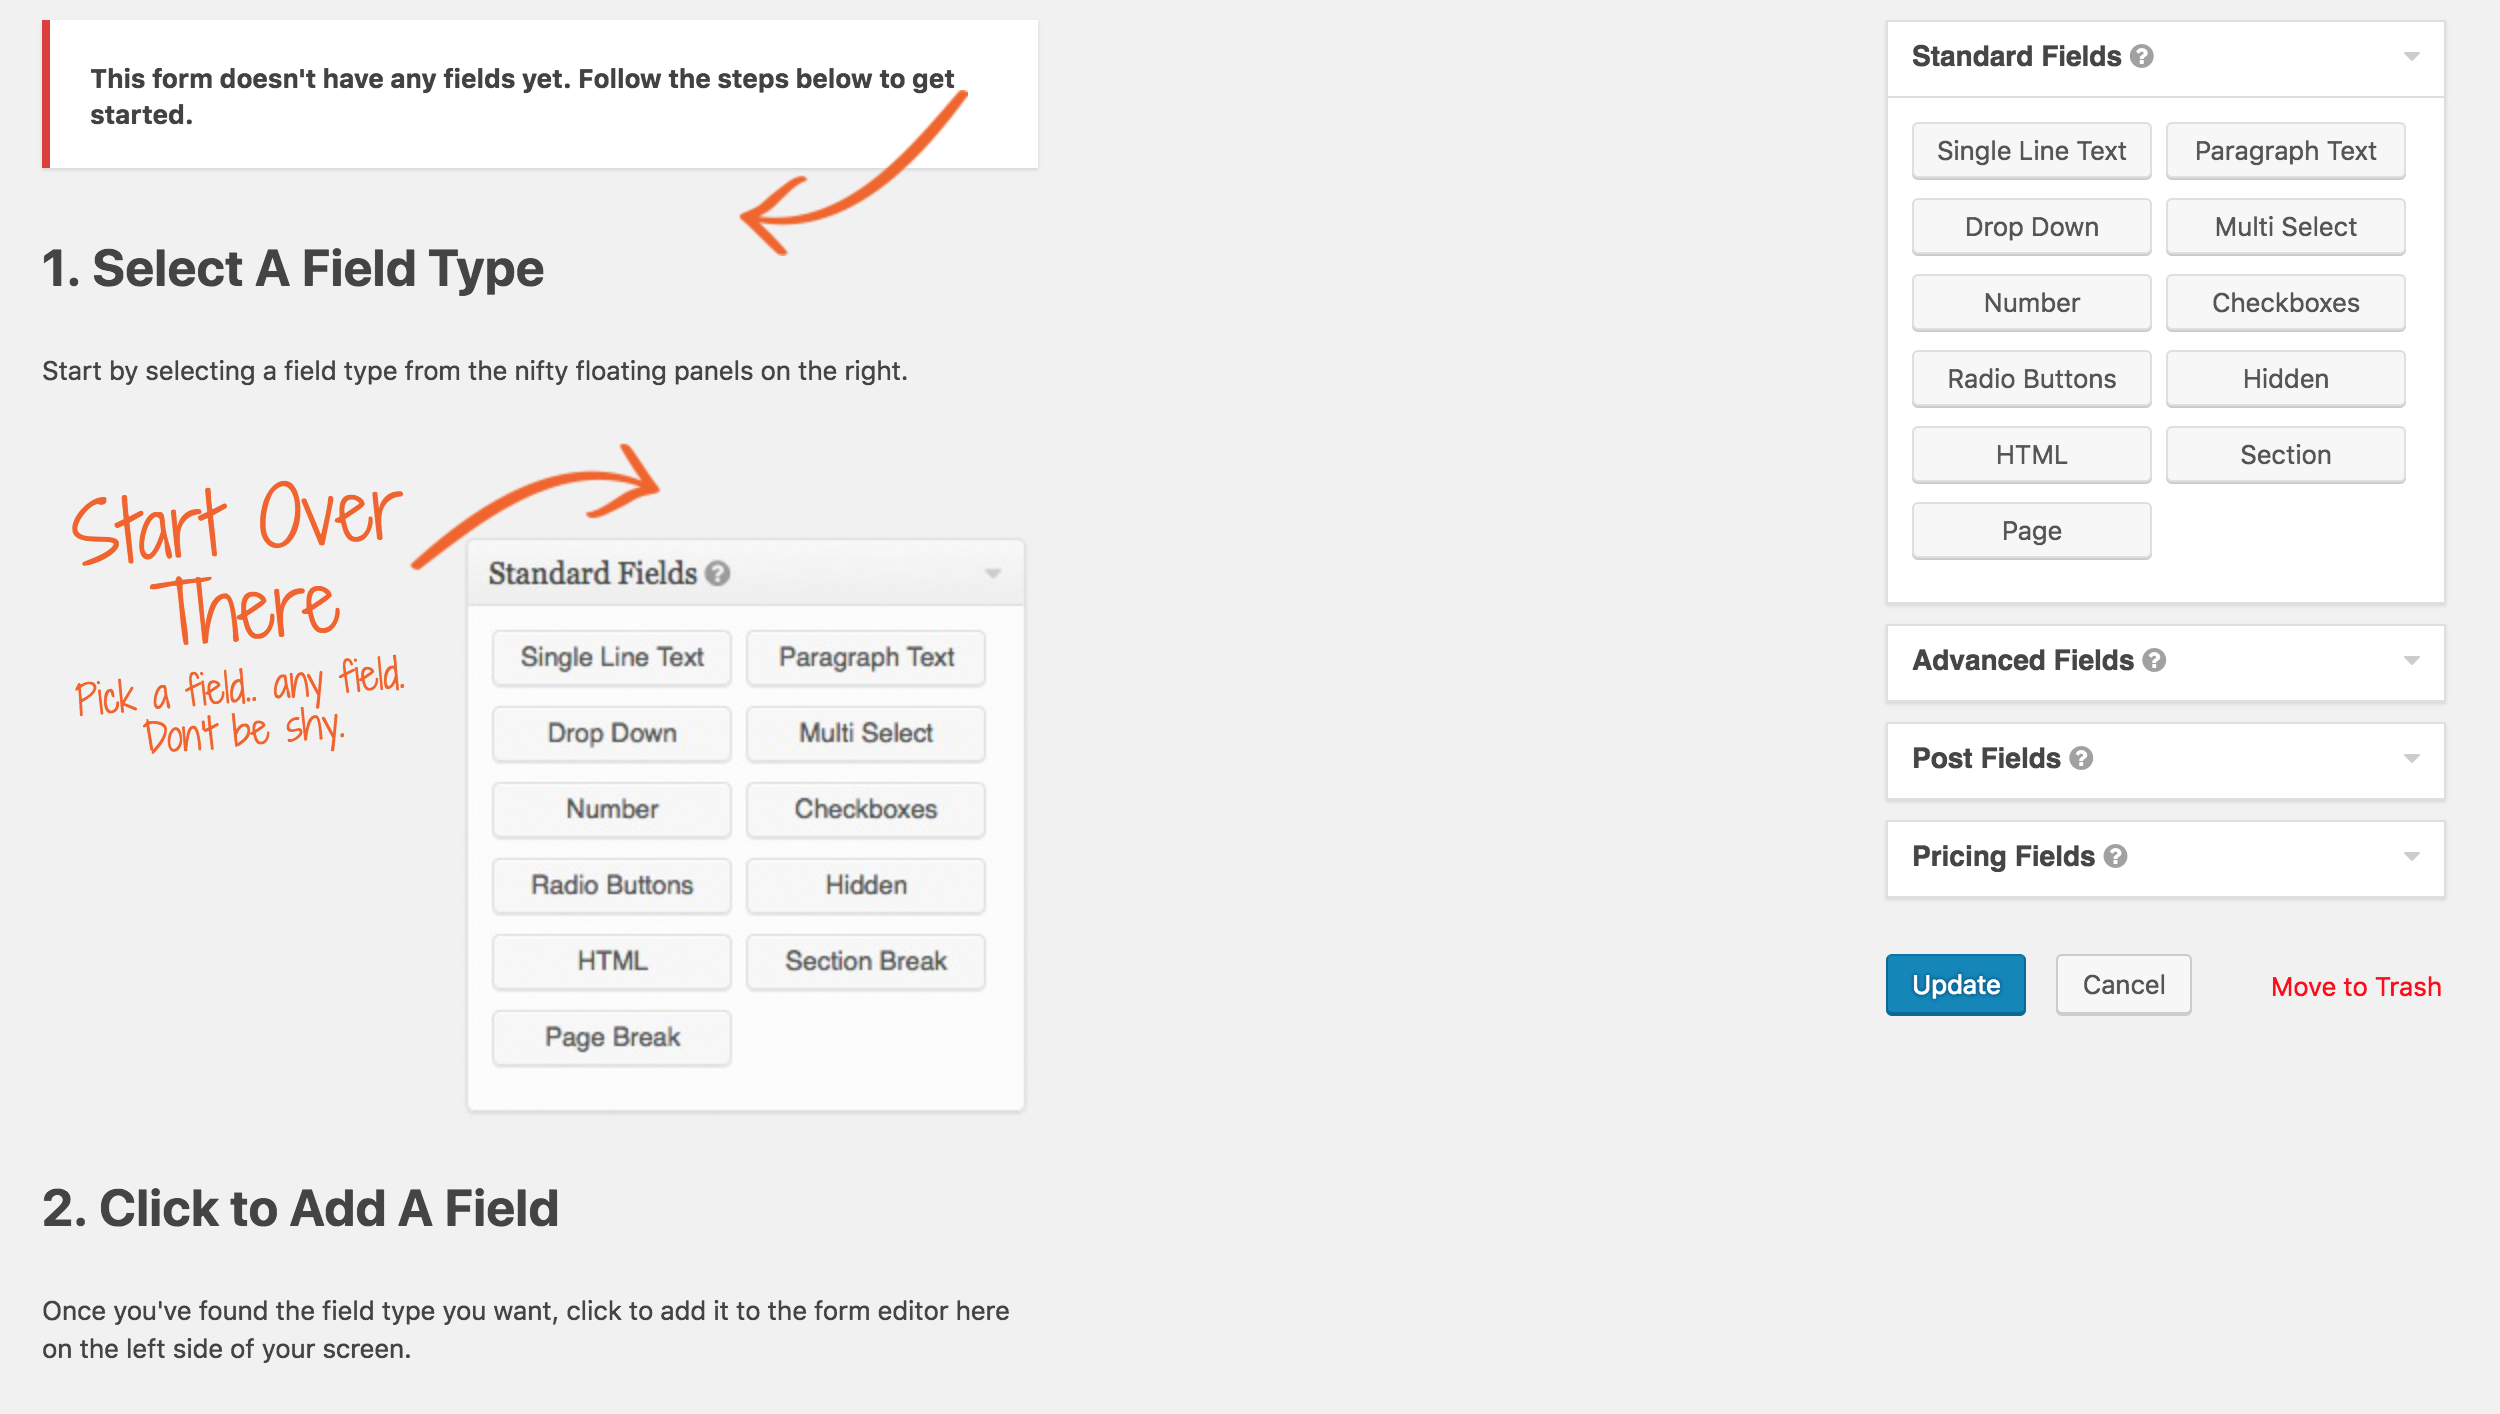
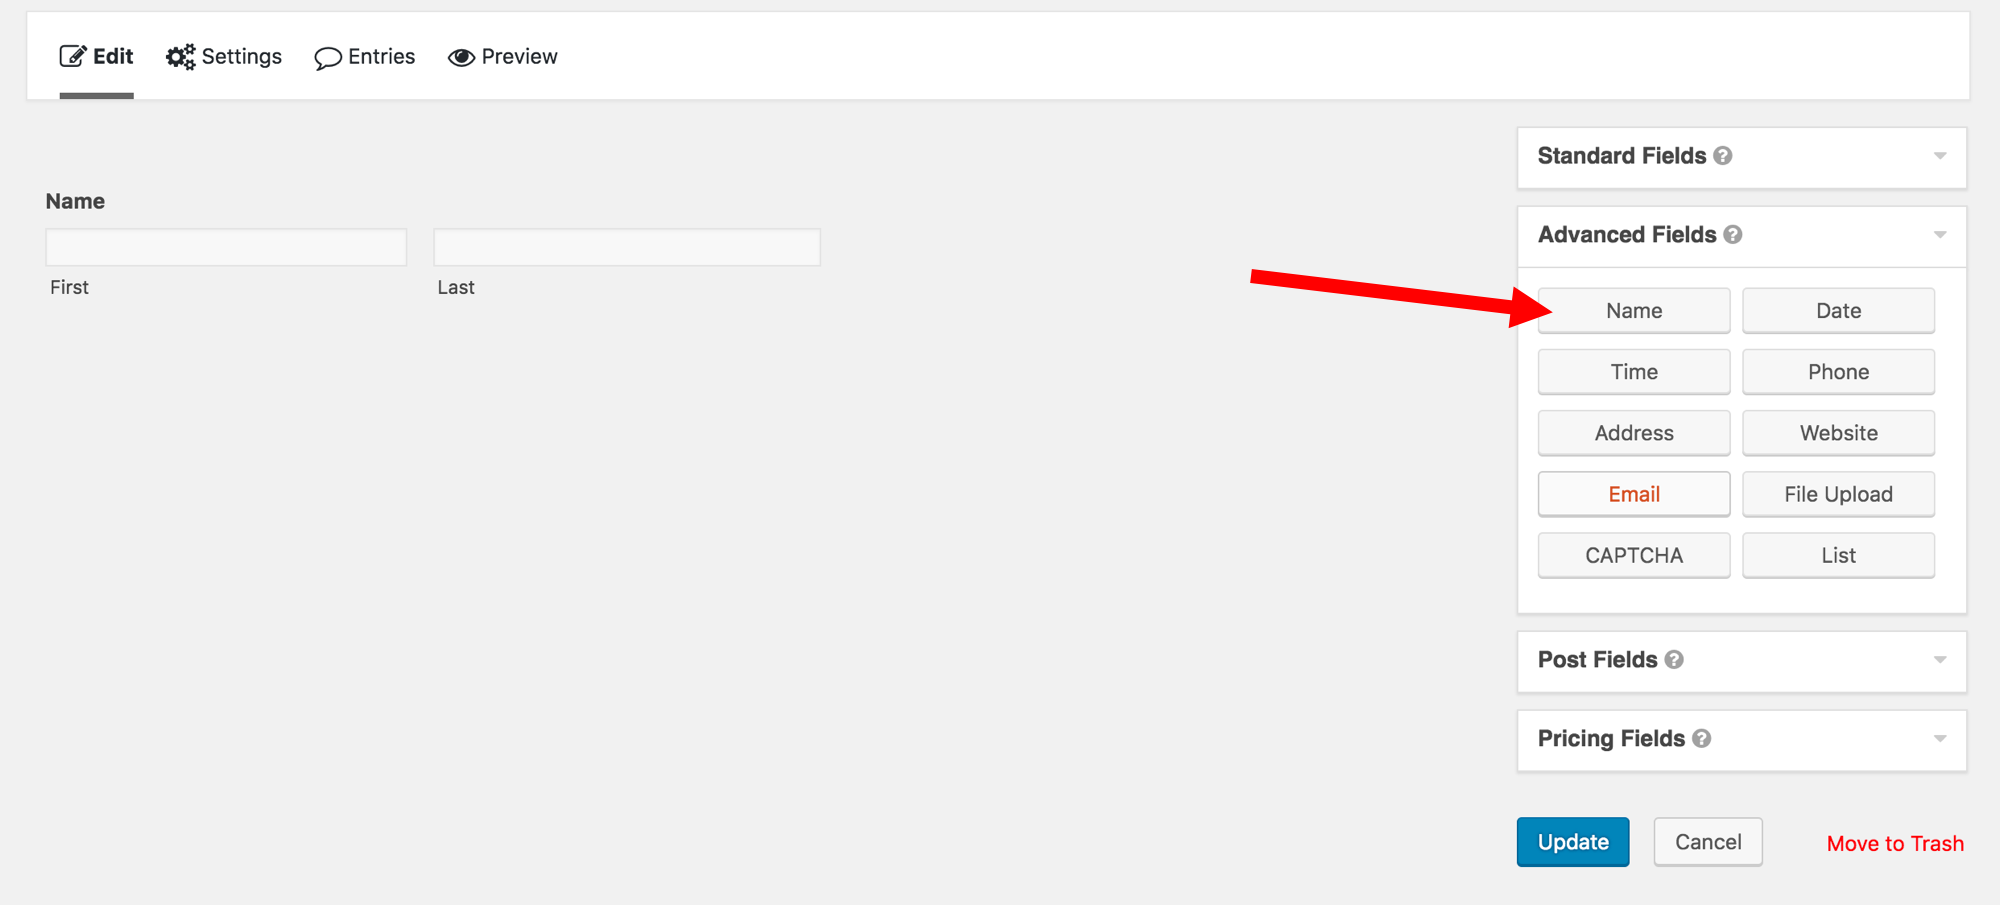
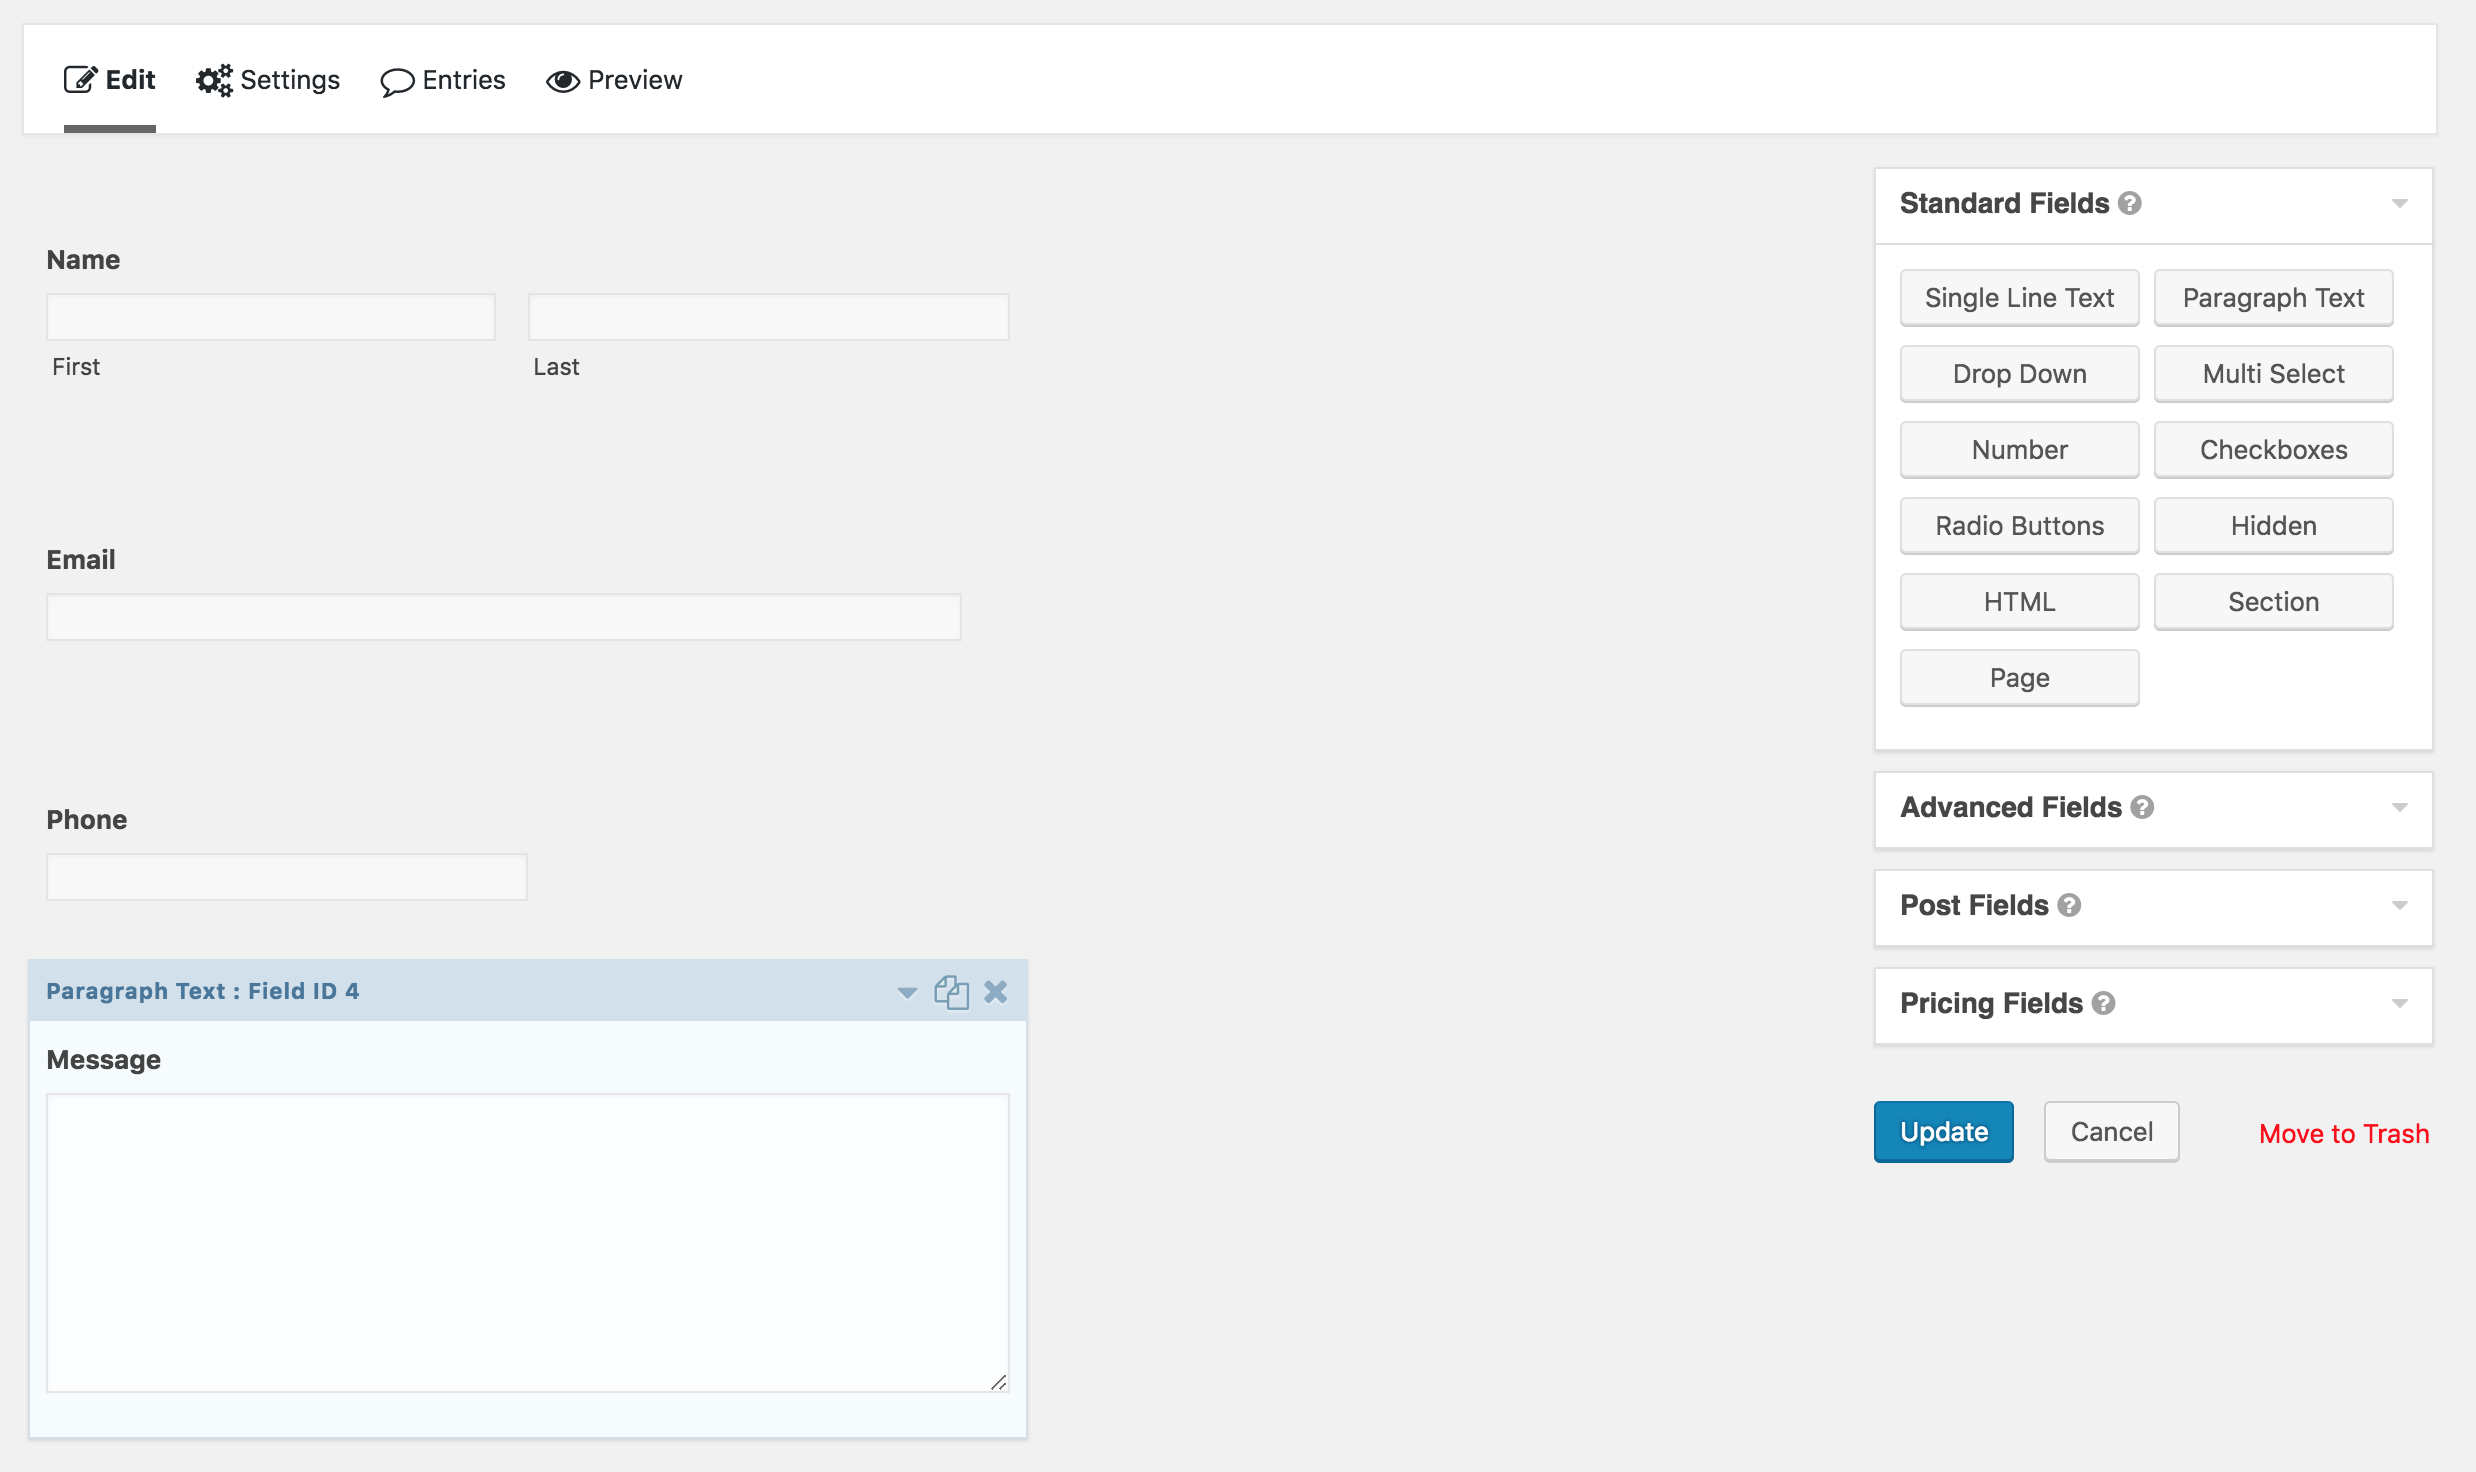
4. On the right hand side, you can see various fields. Use these fields to create your form. One click on the field and the field is automatically added to the form.
![](https://support.bizinkonline.com/hubfs/Knowledge%20Base%20Import/bizink.zendesk.comhcarticle_attachments360000904576Picture2.png)
5. Once you're happy with the form, click "Update".
![](https://support.bizinkonline.com/hubfs/Knowledge%20Base%20Import/bizink.zendesk.comhcarticle_attachments360000906436Screen_Shot_2018-08-23_at_10.49.55_AM.png)
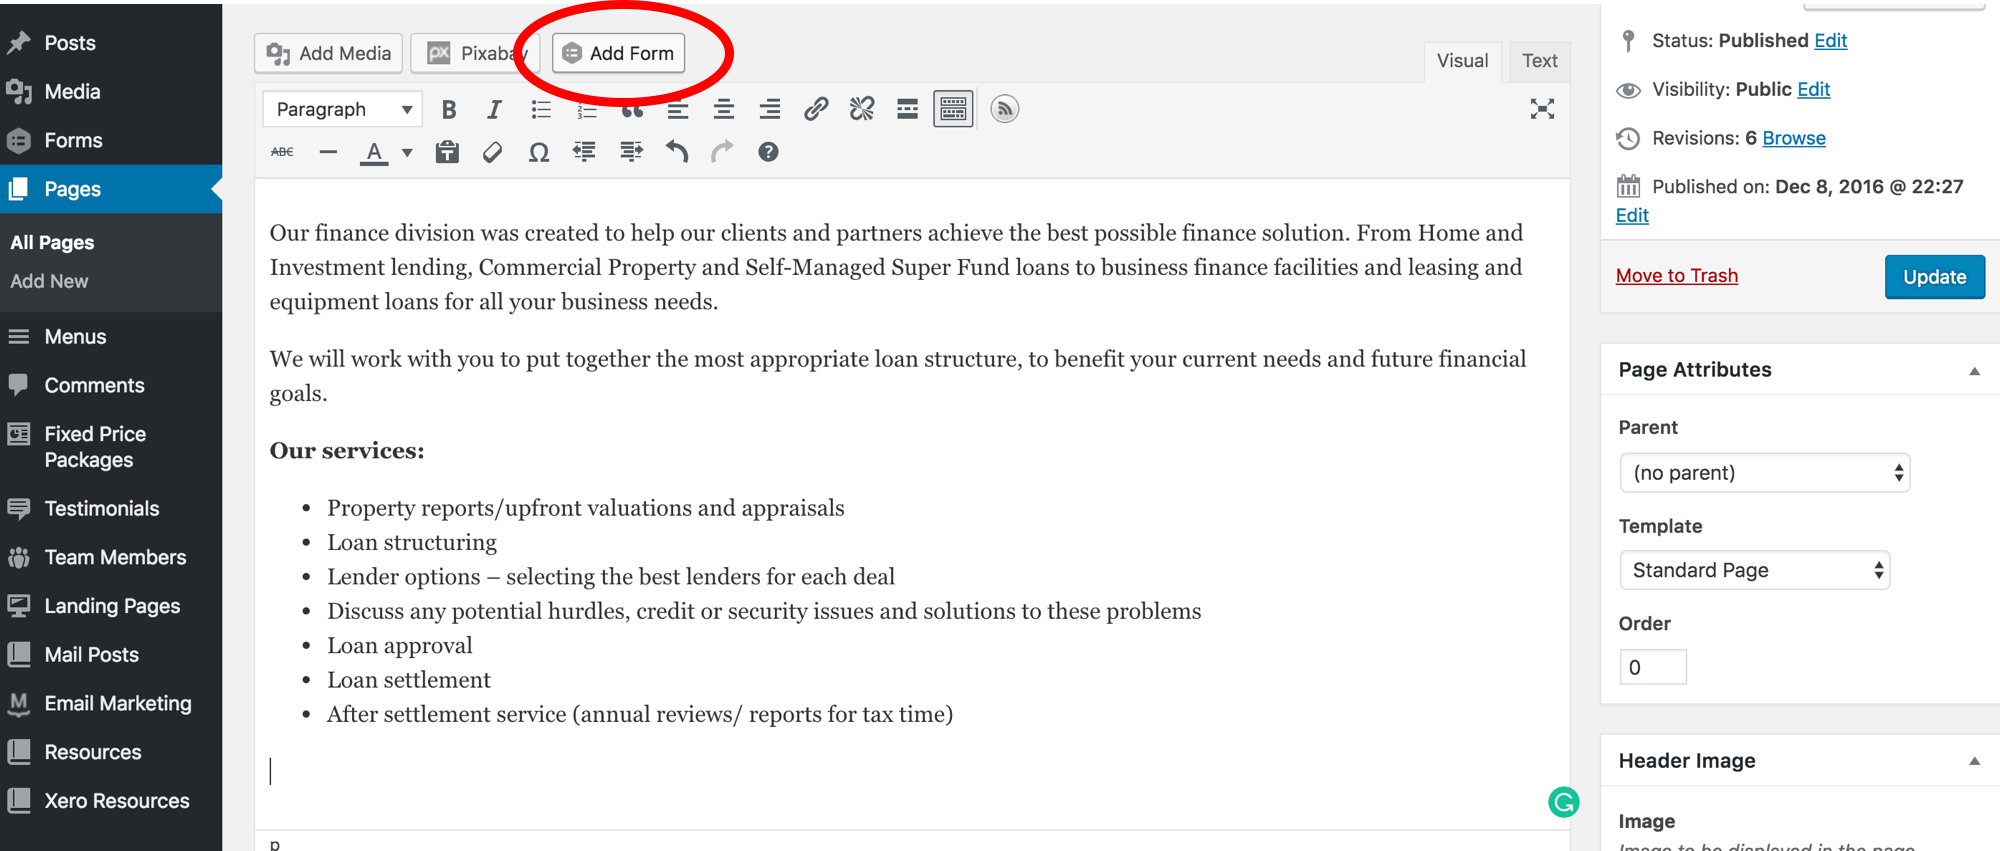
6. Create or go to the page where you want the form to appear. Click wherever you'd like the form to be placed and click on the "Add Form" button.
![](https://support.bizinkonline.com/hubfs/Knowledge%20Base%20Import/bizink.zendesk.comhcarticle_attachments360000911935Picture3.png)
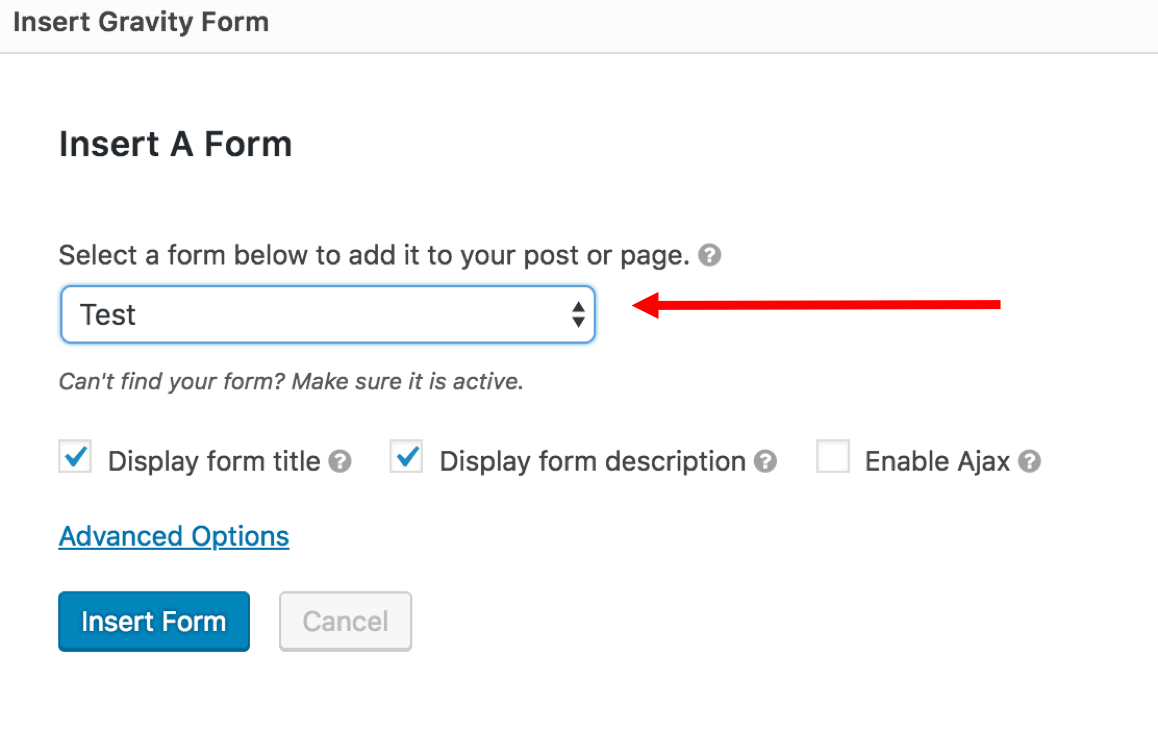
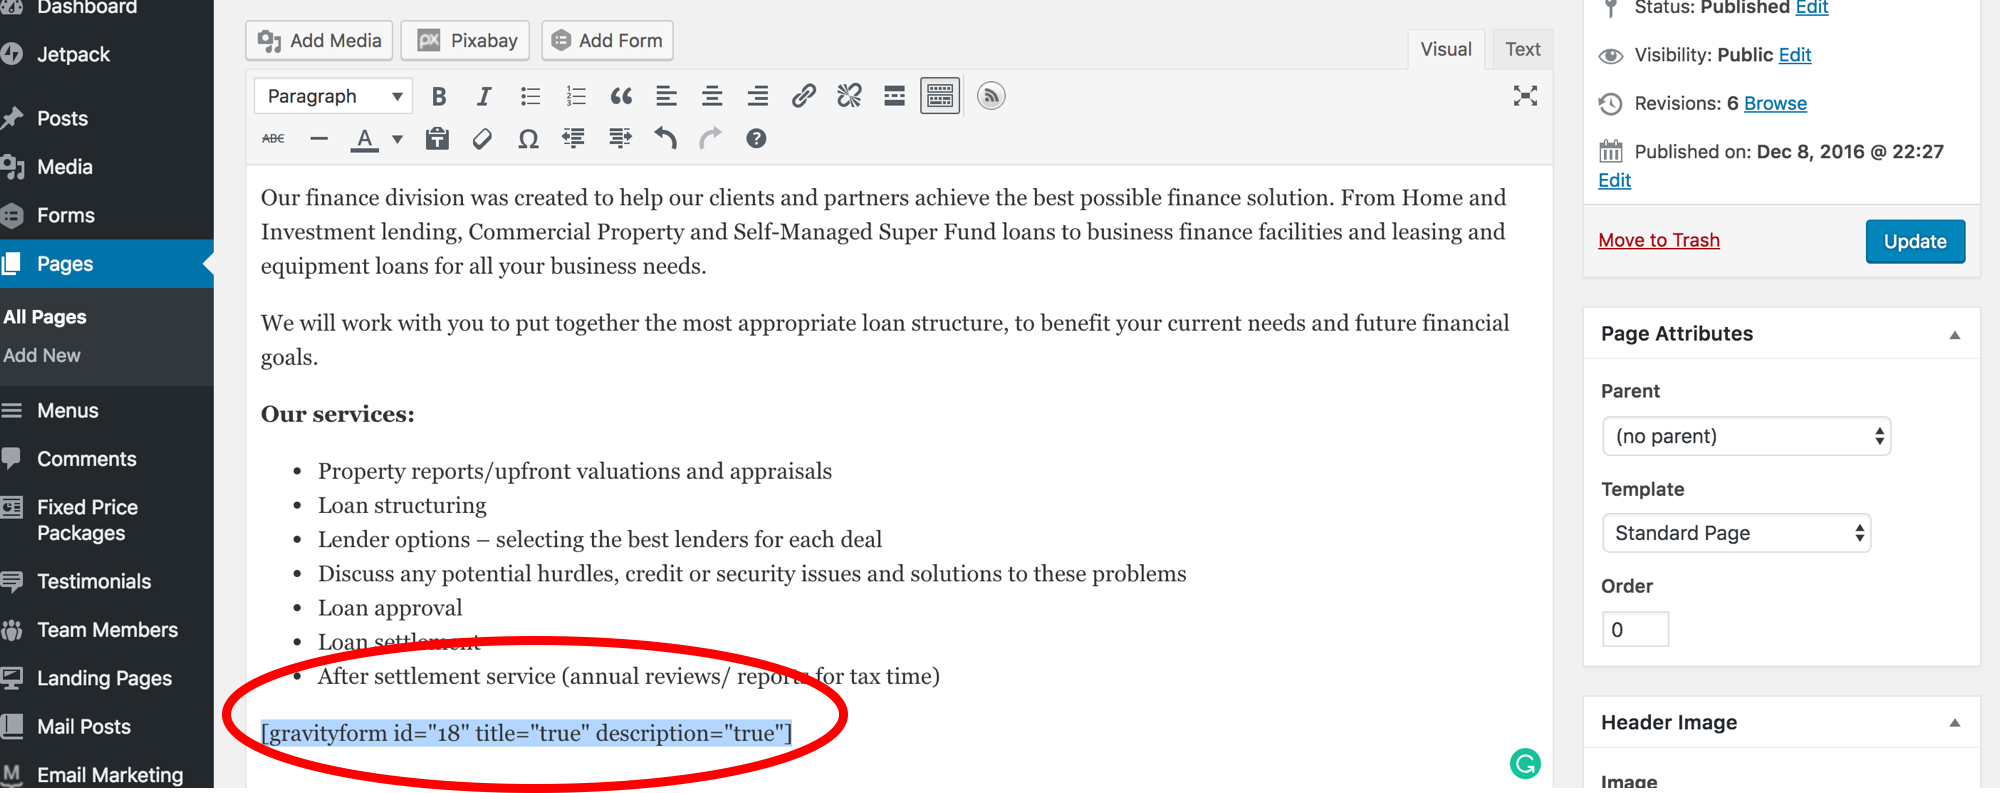
7. Select your form from the dropdown menu. The form is displayed as a link within the content.
![](https://support.bizinkonline.com/hubfs/Knowledge%20Base%20Import/bizink.zendesk.comhcarticle_attachments360000912055Picture5.png)
![](https://support.bizinkonline.com/hubfs/Knowledge%20Base%20Import/bizink.zendesk.comhcarticle_attachments360000912035Picture4.png)
8. Click on Update/Publish your page